
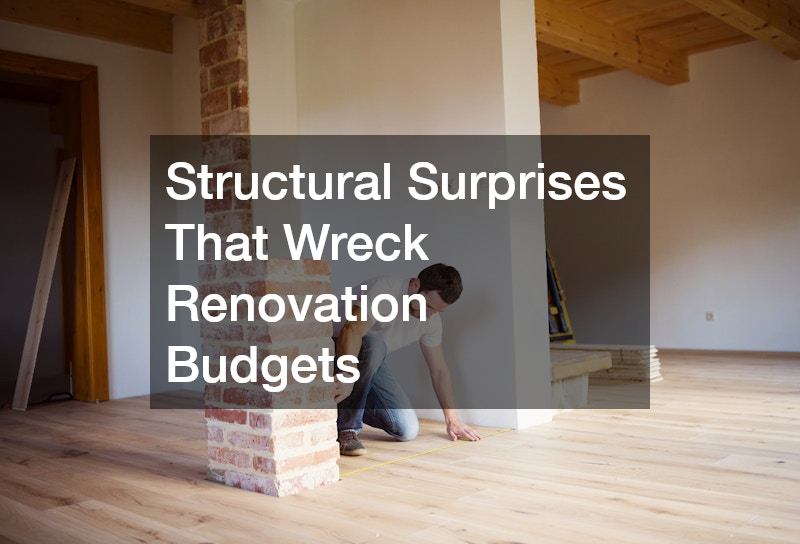
A renovation budget can look perfect on paper until a wall comes down and reveals rotted framing, outdated wiring, or a foundation crack nobody knew existed. These structural surprises are one of the leading causes of blown timelines and busted budgets in home projects of every size. Understanding where these issues tend to hide, and how to plan for them before demolition starts, can save you thousands of dollars and months of frustration. This guide walks through the most common structural surprises and how to protect your project from them.

Aging Foundations and Hidden Settlement Cracks
Foundations often look stable from the outside while quietly shifting underground for years. Small cracks in a basement wall or uneven floors on the main level can point to settlement problems that only become obvious once contractors start opening up floors or walls. Catching these issues early, before they turn into structural emergencies, is one of the biggest reasons homeowners bring in professionals for a full evaluation rather than relying on a quick visual check.
If you are planning any lower-level work, a basement remodeling service will typically inspect footings, moisture patterns, and wall bowing before giving you a firm quote. This step alone can prevent a mid-project shock, since foundation repair costs can rival the price of the remodel itself.
- Watch for stair-step cracks in masonry, which often signal settlement
- Check for doors and windows that stick or no longer close evenly
- Look for gaps between walls and ceilings that have appeared gradually
- Have a professional assess drainage around the foundation perimeter
Outdated Electrical Systems Behind the Walls
Older homes frequently hide electrical systems that were never updated to meet current code, and this is one of the most common discoveries during interior remodeling projects. Knob-and-tube wiring, undersized panels, and aluminum wiring from certain decades all present real safety concerns once uncovered. These findings almost always require licensed electricians to intervene, adding both cost and time that most homeowners did not budget for.
The tricky part is that electrical problems are rarely visible until walls are opened, so a project that looked simple on the surface can suddenly require a full rewire. Getting an electrical inspection before finalizing your renovation budget is one of the smartest ways to avoid this particular surprise.
- Ask for a panel inspection if your home is more than 30 years old
- Budget a contingency fund specifically for wiring updates
- Confirm whether your insurance requires updated wiring for coverage
- Request documentation of any past electrical work from previous owners

Plumbing Lines That No Longer Meet Code
Bathrooms and kitchens are notorious for uncovering plumbing surprises, especially in homes built before modern code standards. Galvanized pipes, corroded joints, and improperly vented drain lines are common finds once walls or floors are opened. A bathroom remodel that seemed straightforward can quickly expand in scope once a plumber discovers that the supply lines need full replacement rather than a simple reroute, and the same holds true for kitchen remodeling, where relocating sinks or dishwashers often exposes outdated piping nobody expected to touch.
These discoveries are not just inconvenient, they can also delay other trades waiting to start their portion of the work. Scheduling a plumbing camera inspection ahead of time gives you a realistic picture of what is behind the walls before demolition begins.
- Ask about the condition of shutoff valves before work starts
- Request a sewer line camera inspection for older homes
- Confirm whether existing vent stacks meet current code
- Set aside extra time in the schedule for unexpected pipe replacement
Roof Framing and Attic Structural Issues
Attics are another area where structural surprises hide in plain sight. Sagging rafters, undersized ceiling joists, or water-damaged sheathing often go unnoticed until an addition or major renovation requires opening the roof structure. These issues can affect not just cost but also the feasibility of your original design plans.
If your project involves adding weight to the roof, such as skylights or a new HVAC unit, a structural engineer should confirm the framing can support it. Discovering a framing problem mid-project can force a redesign, which is why this step belongs early in the planning process rather than after construction begins.
- Look for daylight visible through roof boards during attic inspections
- Check for sagging ridge lines from outside the home
- Ask about the age and condition of existing insulation
- Confirm load capacity before adding heavy fixtures or equipment

Load-Bearing Walls and Open-Concept Renovations
Removing a wall to create an open floor plan is one of the most popular renovation goals, but it is also one of the riskiest when it comes to structural surprises. Many homeowners assume a wall is purely cosmetic, only to learn during demolition that it carries significant load from the floors or roof above. This kind of discovery can add the cost of steel beams, additional support posts, and engineering fees that were never part of the original estimate.
Working with an architect design firm early in the process helps identify which walls can be safely removed and which require reinforcement. This upfront planning step, while it adds a small cost initially, typically prevents far more expensive mid-project redesigns later.
- Request a structural assessment before finalizing any open-concept plans
- Ask whether temporary shoring will be needed during construction
- Get written confirmation of beam sizing requirements
- Clarify permit requirements for load-bearing wall removal
Termite Damage and Wood Rot in Structural Framing
Pest damage is one of the most budget-breaking surprises because it is often invisible until framing is exposed. Termites, carpenter ants, and long-term moisture exposure can quietly compromise floor joists, wall studs, and sill plates for years before anyone notices. By the time a contractor spots the damage, the affected wood often needs to be fully replaced rather than repaired.
This kind of discovery is especially common in homes with a history of moisture issues, leaky pipes, or poor ventilation. A pest inspection combined with a moisture assessment before renovation begins can flag these risks early enough to build them into your budget rather than your surprise expenses.
- Schedule a termite inspection before any major demolition
- Check crawl spaces and sill plates for soft or discolored wood
- Address moisture sources before finishing new construction
- Ask contractors how they handle unexpected wood replacement costs
Outdoor Structural Problems That Delay Yard Projects
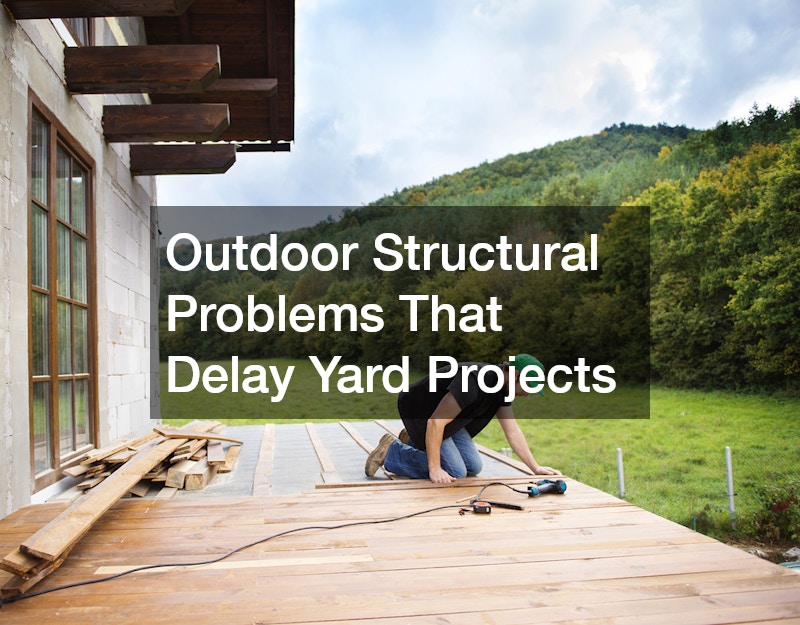
Structural surprises are not limited to the inside of your home. Retaining walls, patios, and older concrete slabs can hide drainage problems, cracked footings, or erosion damage that only becomes clear once excavation begins. These issues can significantly affect the scope of a landscape design service project, especially when grading or drainage corrections are needed before any new features can be installed.
Sloped yards and older properties are particularly prone to these surprises, since years of water runoff can erode soil beneath patios or walkways without any visible warning signs. Getting a soil and drainage evaluation before finalizing outdoor plans helps prevent costly mid-project changes to your hardscape design, especially when retaining walls or paver systems are involved.
- Ask for a soil compaction test in areas with new hardscaping
- Check existing retaining walls for bulging or leaning sections
- Confirm drainage slopes direct water away from the foundation
- Budget extra time for unexpected excavation work
Pool Structures and Aging Concrete Shells
Homeowners considering pool renovations often assume the work will be cosmetic, involving new tile, resurfaced plaster, or updated equipment like pumps and heaters. In reality, older pools—especially those built more than 25 to 30 years ago—can hide cracked concrete, failing rebar, or plumbing lines that have shifted with ground movement over time.
Gunite and shotcrete shells are particularly prone to hairline cracking as soil settles or expands with moisture changes. In regions with expansive clay soil or high water tables, this movement can stress the shell enough to separate it from surrounding decking or crack tile lines that once looked perfectly stable.
Corroded rebar is another common surprise. Water intrusion through small cracks can rust the steel reinforcement inside the concrete, causing it to expand and spall the surrounding material—a problem that often isn’t visible until chunks of concrete are chipped away during renovation.
Buried plumbing adds another layer of risk. PVC lines run beneath the pool deck or shell can crack or separate at the joints after decades of ground shifting, leading to slow leaks that quietly drain water and erode supporting soil.
These structural issues are usually invisible until the pool is drained and inspected closely, which is why experienced contractors often recommend a hydrostatic pressure test and a full plumbing pressure test before finalizing a renovation budget. Skipping that step can turn a $15,000 cosmetic refresh into a $40,000 structural rebuild once the shell is opened up.
Pool shells are especially prone to hidden deterioration because gunite and shotcrete surfaces mask what’s happening structurally underneath. Cracks that look cosmetic on the surface can signal rebar corrosion, soil shifting beneath the shell, or water intrusion that’s been undermining the structure for years. In older pools—particularly those built before the 1990s—it’s common to find corroded steel reinforcement, delaminated concrete, or voids where the surrounding soil has eroded away entirely.
Because pool repairs of this nature require specialized contractors, discovering shell damage mid-renovation can add weeks to the timeline while engineers assess the extent of the problem. A full structural evaluation often means draining the pool, hiring a structural engineer to core-sample the shell, and possibly bringing in a geotechnical specialist if soil instability is suspected. These assessments alone can take one to three weeks, and if significant rebar replacement or shell reconstruction is needed, costs can climb from a few thousand dollars for patch repairs into the tens of thousands for a full re-shell.
Getting a full structural inspection before committing to a renovation timeline is the best way to avoid this particular surprise. This should include a visual crack survey, moisture testing around the pool deck, and a review of the original construction records if they’re available, since knowing the age and type of shell construction helps predict where problems are likely to surface.
- Ask for a dye test to check for hidden leaks before renovation; run it near skimmers, returns, and light fixtures where shells commonly separate
- Inspect visible cracks for width and direction of spread — hairline cracks under 1/16 inch are often cosmetic, while diagonal or widening cracks can signal structural settling
- Confirm the age and condition of pool plumbing lines, since PVC over 20 years old is prone to brittleness and joint failure under pressure
- Request a professional assessment of rebar corrosion risk, especially in gunite or shotcrete shells exposed to high soil moisture or salt water systems
- Check for signs of soil erosion or voids beneath the pool deck, which can undermine the shell even when the surface looks intact
- Review any past repair records for patch jobs that may be masking recurring structural issues
Coordinating Multiple Trades When Surprises Arise
One of the most underestimated costs of a structural surprise is the ripple effect it has on scheduling. When one trade discovers a problem, every other trade waiting in line behind them gets pushed back, which can extend a project by weeks even if the actual repair only takes a few days. This is why experienced general contractors build contingency time into their schedules rather than assuming every phase will go exactly as planned.
Clear communication between trades also matters when unexpected finishing choices come up, such as needing to select new fixtures on short notice. Keeping a running list of local lighting stores and suppliers on hand can help you make quick decisions without holding up electricians or finish carpenters waiting to complete their work.
- Ask your contractor how they handle schedule delays from surprises
- Request a written change order process before work begins
- Keep a list of backup suppliers for fixtures and materials
- Build a buffer of at least two to three weeks into your timeline
Structural surprises are rarely avoidable entirely, but they do not have to derail your project when you plan for them ahead of time. The homeowners who fare best are the ones who invest in inspections, ask detailed questions, and build realistic contingencies into both their budget and timeline before the first wall comes down. Whether your project involves a single room or a full property transformation, taking these precautions now will save you significant stress later. Start by scheduling the inspections relevant to your specific project so you can move forward with a clear, informed plan.