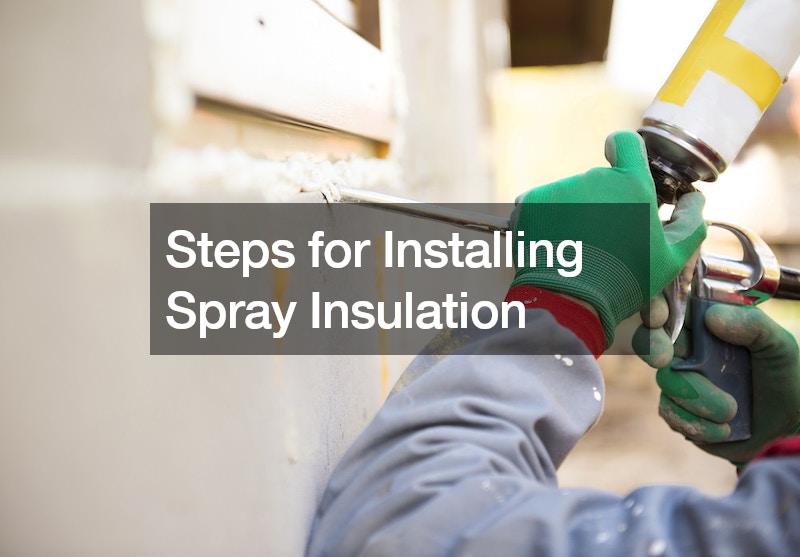
Spray insulation is a popular method for insulating wall cavities or cracks in masonry. Insulation improves energy efficiency and keeps homes and other spaces warmer. In this video, viewers get to watch a professional use a two-part insulation foam from start to finish.
The first step is unpacking the kit and understanding the components. Always read the instructions and safety warnings as these may differ between manufacturers. Some kits have a range of spray nozzles, for example, narrow nozzles for smaller cracks.
Attach the nozzle to the spray gun and ensure the sprayer is attached to the tanks of insulation. Components should click securely into place. Once spraying starts, the two chemicals combine and react in the nozzle, causing the creation of expanding foam.
One important factor is to make sure the entire area is clear and ready to work in. Pausing to tidy or remove obstacles can cause the foam to dry and clog the nozzle, meaning the user has to delay the job while they change nozzles. Proper preparation prevents delays like this.
Either use a respirator or ensure excellent ventilation. Use safety glasses, gloves, and cover clothes. Shake the tanks, open the valves, and spray evenly across the required area from a distance of 6–8 inches. Once dry, use a utility knife to remove any excess foam and ensure a smooth finish.

