
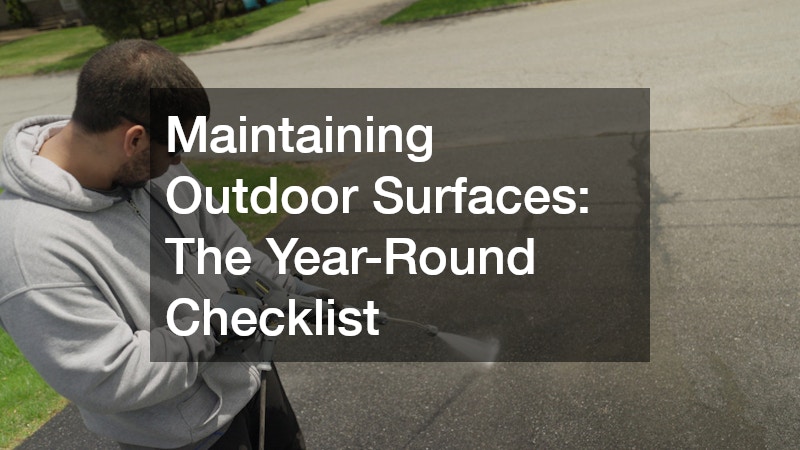
Outdoor surfaces take a beating all year long, from summer heat that softens asphalt to winter freezes that crack concrete. Without a regular maintenance routine, small problems like hairline cracks or faded coatings can turn into expensive repairs or full replacements. This checklist walks you through what to inspect and address each season so your driveway, patio, walkways, and exterior walls stay safe, functional, and attractive for years to come. Whether you are a first-time homeowner or have owned your property for decades, knowing what to look for can save you thousands of dollars down the road.
Inspect Your Driveway for Spring Cracks and Settling
Winter freeze-thaw cycles are brutal on driveways, so spring is the ideal time to walk the full length of yours and look for new cracks, potholes, or areas where the surface has sunk. Water that seeps into small cracks during winter expands when it freezes, which widens gaps and accelerates deterioration. Catching these issues early means a simple patch job instead of a costly overhaul later in the year.
If you notice sections of your driveway sinking or pulling away from the garage or walkway, this could point to soil erosion or poor compaction underneath the slab. Some homeowners find that consulting with local concrete companies for an inspection helps identify whether the problem is cosmetic or structural. A professional opinion early in the season can prevent a minor settling issue from becoming a major safety hazard.
- Walk the driveway slowly and mark cracks wider than a quarter inch
- Check for pooling water, which signals drainage or grading problems
- Look at expansion joints for gaps or crumbling edges
- Note any discoloration that might indicate staining or chemical damage
Schedule Asphalt Patching Before Summer Heat Arrives
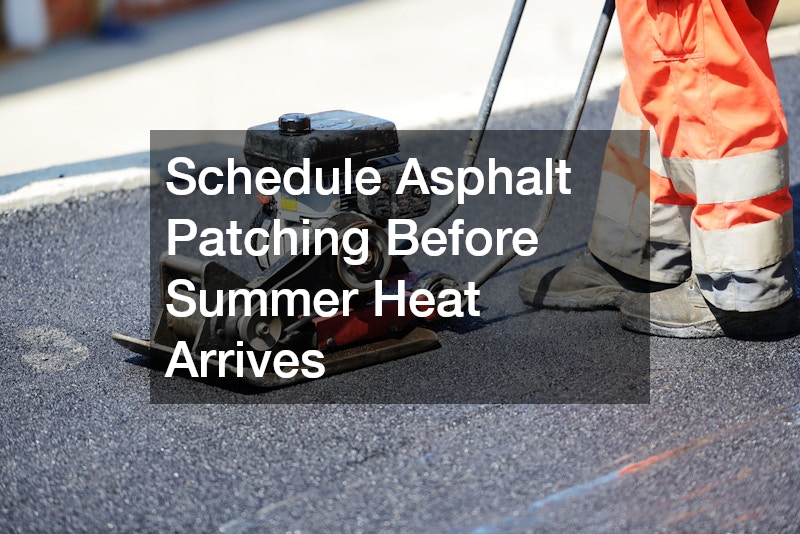
Asphalt is more forgiving than concrete in some ways, but it still requires timely attention once temperatures start climbing. Small potholes or alligator cracking left unaddressed will expand rapidly as the asphalt softens in summer heat and vehicles continue driving over weak spots. Getting asphalt repair done in late spring, before the peak heat sets in, allows patches to cure properly and bond well with the surrounding surface.
Ignoring minor asphalt damage often leads to bigger headaches, including water infiltration that weakens the base layer beneath the surface. If your driveway or parking area has multiple problem spots, it may be more cost effective to address them all in one visit rather than patching piecemeal throughout the year. A well-timed repair extends the life of your asphalt by several years and keeps your property looking well cared for.
- Fill small cracks before they widen into potholes
- Address edge cracking near the driveway border early
- Avoid heavy vehicle traffic on freshly patched areas
- Check for soft or spongy spots that indicate base failure
Shield Your Driveway’s Surface Before the Sun Does Damage
Once any repairs are complete, summer is the best window for applying a protective layer to asphalt surfaces. Sealcoating shields the asphalt from UV rays, oil spills, and the oxidation that causes surfaces to turn gray and brittle over time. Applying this protective coat every two to three years keeps your driveway looking freshly paved and helps prevent the kind of surface deterioration that leads to expensive repairs.
Timing matters when it comes to this kind of maintenance, since the product needs warm, dry weather to cure correctly. Most professionals recommend avoiding application during rainy stretches or when nighttime temperatures dip too low. Homeowners who stay consistent with this upkeep often find their asphalt lasts significantly longer than surfaces that go untreated.
- Apply during dry weather with several days of no rain forecast
- Wait at least 24 to 48 hours before driving on the surface
- Avoid application in extreme heat above 95 degrees
- Reapply every two to three years for best protection
Check Exterior Stucco Walls for Moisture Intrusion
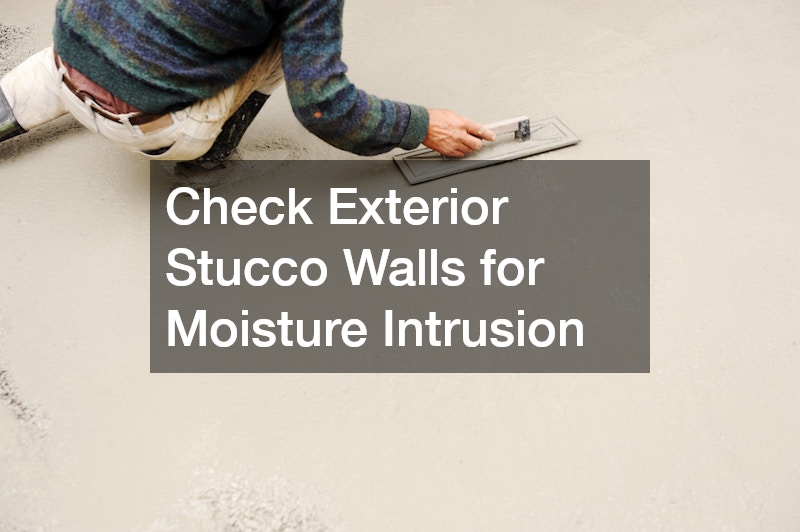
Stucco is a durable exterior finish, but it is not immune to cracking, staining, or moisture problems, especially after a wet spring or humid summer. Small hairline cracks are usually cosmetic, but larger cracks or soft spots can indicate water has gotten behind the stucco and is affecting the wall structure underneath. Walking your home’s exterior once a season and pressing gently on suspicious areas can help you catch problems before they spread.
If you find signs of bubbling, discoloration, or a hollow sound when tapping the surface, it is worth reaching out to a stucco company for a closer evaluation. These specialists can determine whether the issue is a simple surface repair or a sign of deeper water damage that needs remediation. Addressing stucco issues promptly protects your home’s insulation, framing, and overall curb appeal.
- Look for cracks longer than an inch or wider than a hairline
- Check around windows and doors where water tends to collect
- Watch for staining that suggests water is running down the wall
- Note any soft or bulging sections that feel different from the rest
Refresh Garage and Patio Floors with Protective Coatings
Concrete floors in garages, basements, and patios take on constant wear from foot traffic, vehicles, and exposure to the elements. Over time, plain concrete becomes porous and prone to staining, pitting, and cracking if left untreated. Applying concrete floor coatings gives these surfaces a protective barrier that resists oil stains, moisture, and everyday wear while also brightening up the space.
Late summer or early fall is a good time to tackle this project since temperatures are moderate and humidity tends to drop, allowing coatings to cure evenly. Before applying anything, the surface needs to be thoroughly cleaned and sometimes etched so the coating adheres properly. Homeowners who invest in this upkeep often notice their floors are easier to clean and hold up better against seasonal temperature swings.
- Clean and degrease the floor before any coating application
- Check for existing cracks that need filling first
- Choose a coating rated for your climate and usage level
- Allow adequate curing time before heavy use
Plan Driveway Replacement or Resurfacing Projects Early
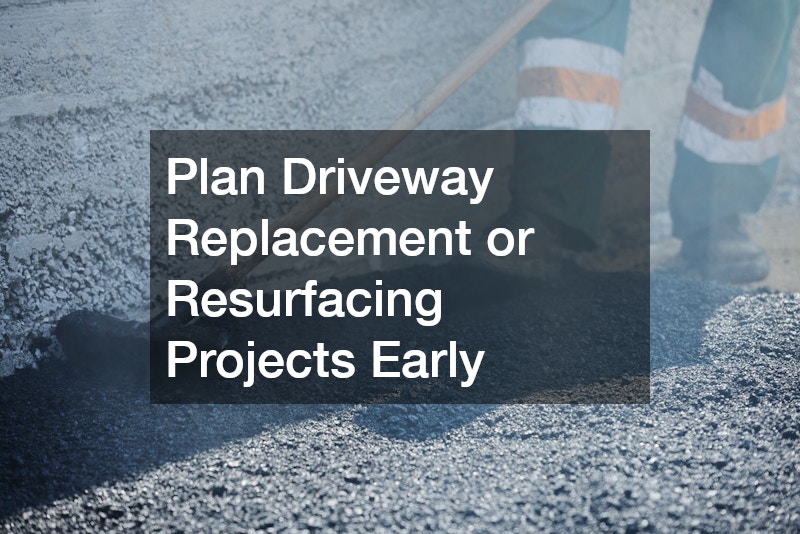
If your driveway has reached the point where patching no longer makes sense, planning ahead for a full replacement is smart before the fall rush hits. Contractors tend to book up quickly once cooler weather arrives, so getting quotes and scheduling driveway paving in late summer often means better availability and pricing. This is also a good time to think through design choices, drainage improvements, and material upgrades.
A properly paved driveway does more than improve curb appeal, it also protects your foundation and landscaping from water runoff issues that come with a failing surface. Before committing to a project, ask about the base preparation process, since a driveway is only as strong as what lies beneath it. Taking time to plan this out properly means fewer surprises and a longer-lasting result.
- Get multiple quotes before committing to a contractor
- Ask about base material and drainage planning
- Consider decorative or stamped finishes if budget allows
- Schedule before late fall to avoid weather delays
Address Drainage and Grading Problems Before Winter
Water is one of the biggest threats to any outdoor surface, and fall is the time to make sure it is moving away from your home rather than pooling near the foundation. Poor grading around driveways, patios, and walkways can send water exactly where you do not want it, leading to erosion, cracking, and even basement leaks once winter moisture arrives. Walking your property after a heavy rain will quickly reveal any low spots or drainage failures.
In some cases, correcting a drainage issue requires more than surface work and involves excavating around the problem area to install new piping or regrade the soil properly. This kind of project is best handled before the ground freezes, since digging becomes far more difficult and expensive in winter conditions. Addressing drainage now protects every other surface improvement you have made throughout the year.
- Watch for water pooling near foundations after rainfall
- Check downspouts to confirm they direct water away from surfaces
- Look for erosion along driveway or walkway edges
- Consider regrading if low spots consistently collect water
Understand How Utility and Excavation Work Affects Your Property

If you are planning any major landscaping, driveway, or drainage project, it helps to understand the excavation methods available and how they might affect your existing surfaces. Traditional digging with backhoes or trenchers can be disruptive to nearby concrete, utility lines, and landscaping, often requiring a wider dig zone just to be safe. This is why many contractors now rely on hydro excavation for more precise, less invasive digging near sensitive areas. This method uses high-pressure water combined with an industrial vacuum to loosen and remove soil, exposing pipes, cables, and roots without the same risk of nicking or crushing them. Because the process is non-mechanical, it’s often the preferred choice for digging near gas lines, fiber optic cables, sprinkler systems, and mature trees where a single misplaced strike could mean costly repairs. It also tends to leave a smaller, cleaner excavation footprint, which means less lawn or hardscape to restore afterward. Before any digging begins, it’s worth confirming that your contractor calls in a utility locate service (in many regions, a free public utility marking service) so all underground lines are flagged. Ask whether they plan to use hydro excavation for work near your driveway apron, foundation, or septic lines, since these areas are the most expensive to repair if damaged. Even if the project itself is small, a few extra days spent verifying utility locations and excavation methods can save you from cracked concrete, severed lines, or a voided warranty on nearby surfaces.
Homeowners undertaking larger projects should also consider how nearby infrastructure work might influence timing and cost. Ongoing road construction in your neighborhood can affect material delivery schedules and equipment access, so it is worth asking contractors about realistic timelines before committing to a project date. Lane closures, detours, and utility crews working underground can add days or even weeks to a project that would otherwise move quickly. It also helps to check with your local public works department or utility companies before scheduling excavation-heavy work like new driveways, patios, or drainage systems. Underground gas, water, and fiber lines are often rerouted or repaired during road construction, and if your property sits near one of these projects, you may face temporary restrictions on digging permits or trench access. Calling 811 (or your regional utility locator service) before any excavation is a simple step that can prevent costly delays or accidental line strikes. Budget-wise, it’s worth padding your timeline and costs by 10-20% when major infrastructure work is happening nearby, since contractors may need to reroute trucks, rent alternative equipment staging areas, or work around temporary road closures. Planning around these factors, and building in some flexibility, helps avoid frustrating delays once work begins.
- Ask contractors which excavation method suits your project — trenching, auguring, or hydro excavation each affect your lawn and driveway differently
- Confirm underground utility lines are marked before digging by calling 811 at least 2-3 business days ahead
- Check whether nearby construction could delay material delivery, especially for concrete, pavers, or gravel with tight pour windows
- Factor in extra time if equipment access is limited by fences, narrow gates, or overhead wires
- Ask about restoration plans for lawns, walkways, or beds disturbed during digging
- Confirm who’s responsible for repairing any accidental damage to sprinkler lines, cables, or drainage pipes
Winterize Concrete and Asphalt Surfaces for Freeze Protection
Once temperatures start dropping consistently, it is time to prepare all your outdoor surfaces for the freeze-thaw cycles ahead. Sealing any cracks before winter prevents water from seeping in and expanding when it freezes, which is one of the most common causes of surface damage. This is also a good time to source materials from a reliable concrete supplier if you plan to tackle small DIY repairs before the cold sets in.
Applying a fresh layer of sealant to concrete surfaces adds an extra layer of protection against salt, ice, and moisture damage over the winter months. Avoid using rock salt on new or sensitive concrete, since certain de-icing chemicals can accelerate surface scaling and pitting. Taking these precautions in late fall sets your surfaces up for an easier spring inspection with far fewer surprises.
- Seal all visible cracks before the first hard freeze
- Choose a pet and concrete-safe de-icer for winter use
- Stock up on repair materials from a trusted supplier ahead of time
- Remove standing water from surfaces before temperatures drop
Keeping your driveway, patio, and exterior walls in good condition is not a one-time task but an ongoing commitment that pays off in avoided repair costs and lasting curb appeal. By following this seasonal checklist, you will catch small problems while they are still manageable and know exactly when to bring in outside expertise. Start with a simple walkthrough of your property this week, jot down anything that looks off, and tackle the most urgent items first. Staying proactive today means fewer surprises and a more resilient home tomorrow.