
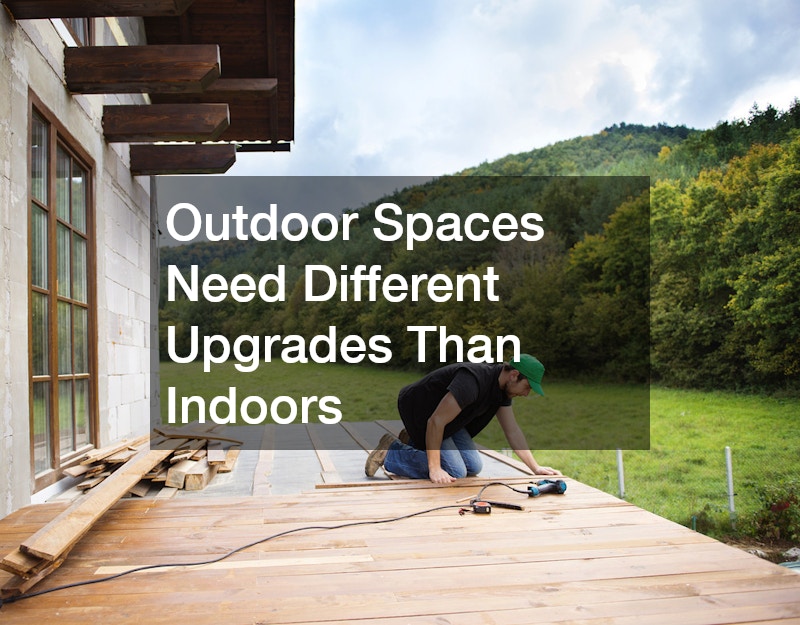
Homeowners often assume that upgrading their yard works the same way as renovating a bathroom or kitchen, but outdoor spaces play by different rules. Sun, rain, foot traffic, and seasonal temperature swings put constant stress on materials that would otherwise last decades indoors. Choosing the wrong products or skipping professional input can mean redoing work within a year or two. Understanding these differences upfront helps you invest in upgrades that actually hold up and improve your property’s value.
Watering Systems Built for Constant Outdoor Exposure
Indoor plumbing lives behind walls, protected from weather and UV rays, but outdoor irrigation lines sit exposed to sun, frost, and soil movement. A commercial sprinkler system designed for larger properties needs components rated for direct burial and constant pressure cycling, unlike anything used inside a home. These systems also require freeze protection in colder climates, since a single hard freeze can crack pipes that were never insulated the way indoor plumbing is.
Property owners with larger lawns, HOA common areas, or commercial-style landscaping often need irrigation zoning that residential kits don’t offer. Zoning lets you water a shaded flower bed differently than a sun-exposed lawn, saving water and preventing overwatering damage.
- Choose pressure-rated pipe designed for outdoor burial depth in your region
- Install backflow preventers to protect drinking water sources
- Add freeze sensors so the system shuts off automatically before a hard freeze
- Schedule seasonal startup and shutdown service to extend equipment life
Sourcing Materials That Can Handle Weather and Soil
 Indoor renovation materials are chosen for appearance and durability under stable temperatures, but outdoor projects demand materials that survive rain, frost heave, and direct sunlight without breaking down. Stocking up on the right landscaping supplies before starting a project prevents mid-job surprises, especially when dealing with soil amendments, edging, or drainage gravel that all behave differently once exposed to moisture. Buying materials rated for outdoor use, rather than repurposing leftover indoor materials, saves money in the long run.
It also helps to buy in stages rather than all at once, since weather can delay installation and some materials, like mulch or soil blends, degrade if stored too long before use. Always check bag labels or supplier specs for UV resistance and drainage rate before committing to a large order.
- Buy soil amendments suited to your region’s native soil type
- Choose UV-stabilized edging over standard plastic versions
- Store bagged materials off the ground to prevent moisture damage
- Confirm drainage gravel size matches your specific project needs
Feeding Your Lawn on a Schedule That Matches Your Climate
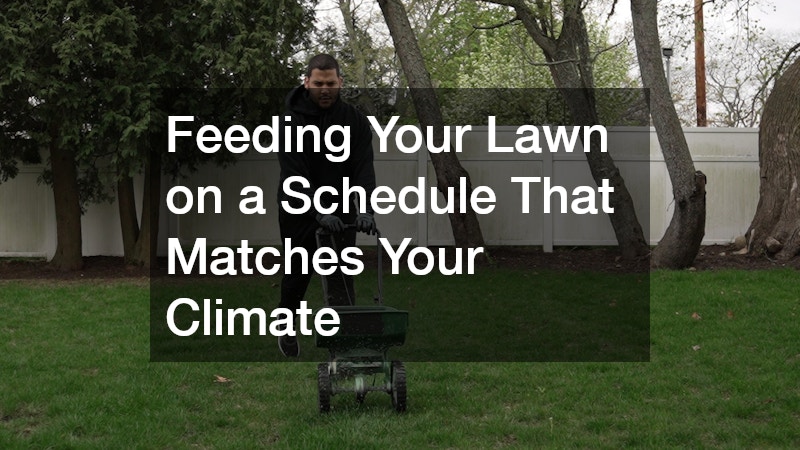
Indoor plants get consistent light and temperature, but outdoor lawns face seasonal stress that changes their nutrient needs throughout the year. Professional lawn fertilizing services adjust nitrogen, phosphorus, and potassium ratios based on the time of year, soil test results, and grass type, which is far more precise than a generic bag of fertilizer from a home store. Overfertilizing in the wrong season can burn grass or trigger fungal growth, so timing matters as much as the product itself.
Most lawns benefit from four to five feeding cycles per year, spaced around key growth periods like early spring green-up and fall root development. Skipping steps or guessing at ratios is one of the most common reasons lawns look patchy despite regular watering and mowing.
- Test soil pH before choosing a fertilizer blend
- Apply slow-release nitrogen for steady summer growth
- Time fall applications to strengthen roots before winter dormancy
- Avoid fertilizing right before heavy rain to prevent runoff waste
Choosing Professional Help for Large-Scale Yard Projects
Indoor remodeling contractors specialize in framing, drywall, and finish work, but outdoor projects require a completely different skill set involving grading, drainage, and plant selection. Established landscaping companies bring equipment and experience that most homeowners simply don’t have access to, especially for jobs involving heavy soil movement or hardscape installation. Getting quotes from a few companies also helps you compare not just price but scope, since some crews handle design and installation while others only do maintenance.
Before hiring anyone, ask about licensing, insurance, and whether they subcontract specialty work like electrical for outdoor lighting. A reputable company will walk your property, discuss drainage patterns, and explain why certain upgrades make sense for your specific yard rather than pushing a one-size-fits-all package.
- Request references from recent projects similar in scope to yours
- Confirm whether estimates include cleanup and debris removal
- Ask about warranty coverage on plant material and hardscaping
- Clarify project timelines before signing a contract
Planning Layouts With Someone Who Understands Outdoor Flow
Interior designers focus on furniture placement and color palettes within fixed walls, but outdoor spaces need someone who understands how sunlight, drainage, and foot traffic move across an open area. Landscape designers study sightlines, seasonal shade patterns, and mature plant sizes years in advance, which prevents the common mistake of overcrowding a yard with plants that outgrow their space. They also factor in how outdoor rooms connect, such as a patio flowing into a garden bed or a play area transitioning into open lawn.
A good design process starts with a site assessment, followed by a layout that considers both function and appearance. This upfront planning phase often saves money later by avoiding costly relocations of trees, irrigation lines, or hardscaping installed in the wrong spot.
- Map sun and shade patterns across all four seasons
- Plan mature plant spacing rather than initial planting size
- Position outdoor structures to complement natural drainage flow
- Consider sightlines from inside the home when placing key features
Weighing Real Grass Against Low-Maintenance Turf Options
Indoor flooring choices rarely need to survive rain, pets, and constant sun exposure, but outdoor ground cover does, which is why more homeowners are exploring synthetic grass for sale as an alternative to natural lawns. Modern synthetic options are designed with drainage backing and UV-resistant fibers, so they hold their color and shape far longer than older artificial grass products from decades past. They also eliminate the need for regular mowing, watering, and fertilizing, which appeals to households looking to cut down on yard maintenance time.
That said, synthetic grass isn’t right for every yard, especially properties with mature shade trees where natural grass already struggles or where homeowners want a fully organic outdoor environment. Cost is another factor, since upfront installation is more expensive than seeding a lawn, even though long-term maintenance savings can offset that difference over several years.
- Compare pile height and density for durability under foot traffic
- Check warranty length, since quality products often carry 8 to 15 year coverage
- Ask about infill options that reduce heat retention in summer
- Consider drainage rate if your property experiences heavy rainfall
Reinforcing Sloped Yards With Properly Engineered Walls
Indoor structural work deals with load-bearing walls hidden inside a home, but outdoor slopes need visible structural support to prevent erosion and soil movement over time. A well-built retaining wall does more than create a flat planting area, it manages water pressure behind the wall and keeps soil from shifting during heavy rain. Poorly built walls, especially ones without proper drainage, often bulge or collapse within a few years because water pressure builds up faster than the structure can handle.
Material choice also affects performance, since concrete block, natural stone, and timber all handle moisture and pressure differently. Homeowners dealing with a slope steeper than a few feet of elevation change should treat this as a structural project rather than a simple landscaping addition.
- Choose materials rated for your wall’s height and expected load
- Include gravel backfill and drainage pipe behind the wall
- Batch or step taller walls instead of building one tall vertical face
- Check local permit requirements before starting construction
Hiring the Right Specialist for Structural Slope Work
Because retaining walls carry real structural risk if built incorrectly, this is one outdoor upgrade where hiring a specialist matters more than saving money on labor. A qualified retaining wall contractor understands soil engineering, drainage requirements, and load calculations that go far beyond stacking blocks in a decorative pattern. They can also advise on whether a project needs engineered drawings, which some municipalities require for walls above a certain height.
Getting this step wrong isn’t just a cosmetic problem, since a failed wall can damage nearby structures, patios, or even a home’s foundation if soil shifts unexpectedly. Ask any contractor you’re considering to explain their drainage plan in detail, since that single detail predicts long-term wall performance better than almost anything else.
- Ask for engineering documentation on walls over four feet tall
- Request examples of similar slope projects they’ve completed
- Confirm they carry liability insurance for structural work
- Discuss maintenance expectations for the finished wall
Finding Plants and Materials Suited to Your Yard’s Conditions
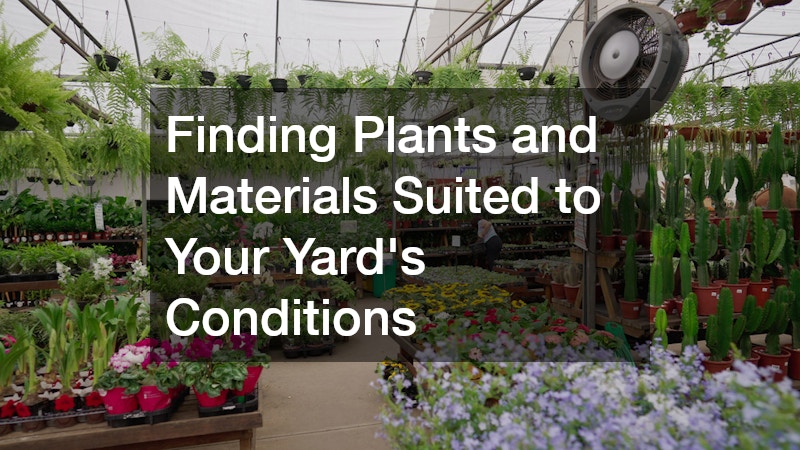
Indoor plant shopping mostly involves picking something that looks nice on a shelf, but outdoor plant selection requires matching species to sun exposure, soil drainage, and regional climate zones. A knowledgeable garden center can guide homeowners toward plants that will actually thrive in their specific yard conditions, rather than something that looked appealing in a display but struggles once planted outside. Staff at a good garden center can also test soil samples or recommend amendments based on what you’re trying to grow.
Beyond plants, these centers often carry mulch, stone, and seasonal materials that pair well with a broader landscaping plan. Visiting in person, rather than ordering online, lets you assess plant health directly and ask questions specific to your property’s microclimate.
- Ask about native or drought-tolerant options suited to your region
- Check root health before purchasing container plants
- Request planting depth and spacing guidance for each species
- Inquire about seasonal guarantees on trees and shrubs
Installing Artificial Ground Cover the Right Way
Choosing synthetic ground cover is only half the equation, since proper artificial turf installation determines how the finished surface performs over time. Base preparation matters most, involving excavation of 3 to 4 inches of existing soil, a layer of compacted aggregate, and a level foundation that allows water to drain rather than pool on the surface. A crushed stone base typically compacts to a 90 percent density, which keeps the turf from shifting or developing dips after heavy foot traffic.
Drainage design deserves equal attention, especially in yards with clay-heavy soil or minimal natural slope. Installers often grade the base at a slight pitch, around 1 to 2 percent, and add a perforated drainage layer or gravel channel to direct runoff away from patios and foundations. Without this planning, water can collect beneath the turf and create odor problems or soggy patches that never fully dry.
Skipping these steps to save money often leads to wrinkling, uneven surfaces, or drainage problems within the first year. Seam placement and infill depth also affect longevity, since poorly secured seams tend to separate under regular use, and too little infill leaves the blades looking flat rather than upright. Homeowners who invest in professional-grade base work typically get 15 to 20 years of use before the turf needs replacing, compared to a fraction of that when corners get cut.
Seaming, edge securing, and infill application also require specific techniques that differ significantly from simply rolling out a carpet indoors. Seams need seaming tape and outdoor-rated adhesive applied evenly along the full length, since gaps or weak spots become obvious tripping hazards and visible lines once the grass settles.
Edges should be secured with galvanized turf staples spaced roughly every six inches along the perimeter, with closer spacing around curves or high-traffic borders like pool decks and walkways. Skipping this step or using regular staples that rust can leave edges curling up within a season.
Infill also matters more than most homeowners expect. Silica sand or a sand-and-zeolite blend needs to be brushed in gradually, in thin layers, using a power broom or stiff push broom rather than dumped and spread all at once, since even distribution keeps the blades standing upright and helps the surface drain properly.
Homeowners considering a DIY approach should research proper seam bonding and infill brushing techniques, since these details affect both appearance and how long the surface lasts under regular use. It’s also worth checking manufacturer specs for recommended infill weight per square foot, since under-filling is one of the most common reasons artificial turf starts looking flat and worn ahead of schedule.
- Excavate 3-4 inches deep and compact a crushed rock or decomposed granite base to prevent shifting, pooling, or uneven turf over time
- Use seaming tape and outdoor-rated adhesive designed for turf seams, not household glues that break down with heat and moisture exposure
- Brush infill (silica sand or rubber granules) evenly with a stiff broom or power broom so fibers stand upright and don’t mat down
- Grade the base with a slight slope, roughly 1-2% away from the house, to keep water moving toward drains instead of foundations
- Add a perforated drainage layer or existing gravel base check for heavy rainfall areas to avoid standing water beneath the turf
- Secure edges with galvanized nails or a bender board every 6-8 inches so seams don’t lift or curl over time
Outdoor upgrades require different materials, timing, and expertise than anything you’d tackle inside your home, and treating them the same way often leads to disappointing results. Start by assessing which systems on your property, whether irrigation, lawn health, or structural slopes, need attention first, then bring in qualified professionals for anything involving engineering or specialized installation. Taking the time to research materials and hire the right help upfront will save you both money and frustration down the road. Your yard deserves the same thoughtful planning you’d give any major indoor renovation.